In the Field Zone Management section you can:
- Import the zone from previous year
- Add a zone
- Edit the existent zones available
Import Zones From the Previous Year
- To import the zone from the previous year click on the “Add” icon

- A small window will be displayed
- On the bottom section of the window you will notice the Import from Previous Year button and a drop down
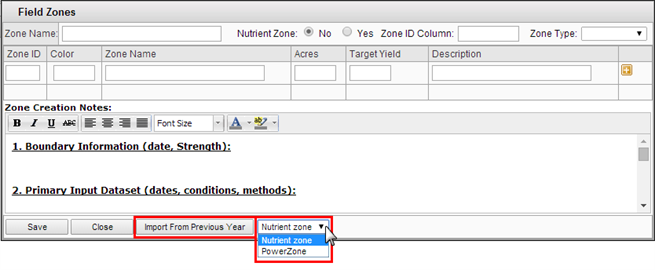
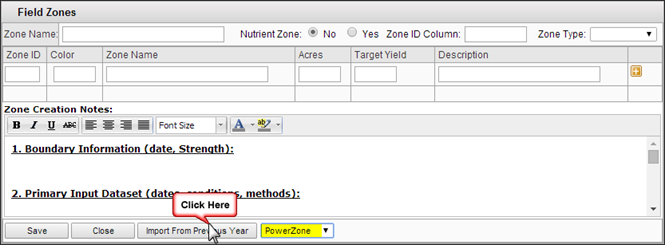
- From the drop down, select the correct zone that you wish to import
- Click the Import From Previous Year button
- After you click the Import button and confirm the import, your set of zone should be transferred to your Field Details page
Add a Zone
There are two ways to enter a new zone
- Create a zone manually
- Uploading a file
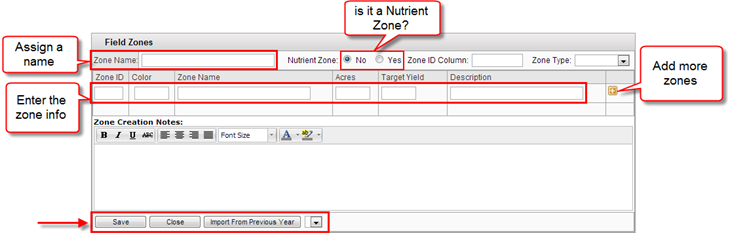
1.- Manually entering a Zone

- A small window will be displayed where you can enter all the information
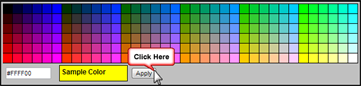
- When you click on the Color a small window with the color chart will appear
- Select the desired color
- And click the Apply button
- You can click the “Plus” symbol to add a new row
- After you have enter all the information and assign a color for the zones
- Click the Save button
- The new zone will be added to the Field Zone Management section

2.- Uploading Zone Files
- Click on the upload files icon

- A new screen will be displayed, here you will be able to upload your files
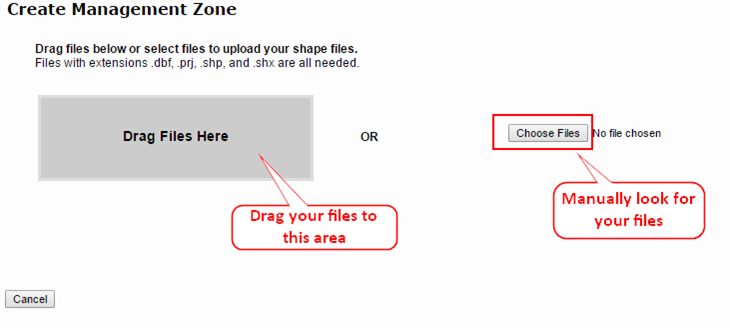
- Click on the Browse button
- A small window will appear.
- Locate and select the files on your computer
- The files should have the extension: dbf, shp, and shx.
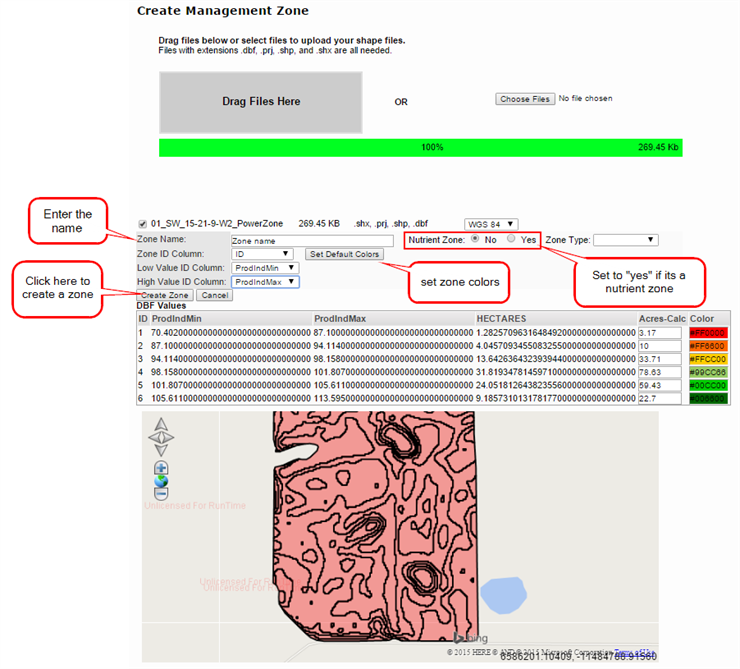
- Enter the name for the zone group
- If it is a nutrient zone, set the option to “Yes”
- Click the Set Default Colors button
- Click the Create Zone button
- It will redirect you to the Field Details page
- The new zone will be added to the Field Zone Management section

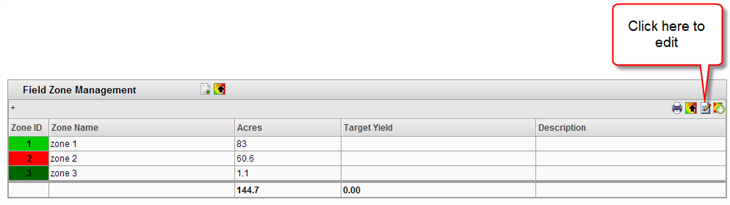
- If you need to assign a Target Yield to each zone or edit the information displayed, just Click on the pencil icon to Edit
Edit the Zone
- You can edit the zone, just click on the pencil icon
- Once you click on the pencil icon
A small window will be displayed where you can edit the values
- Enter a name /modify the values
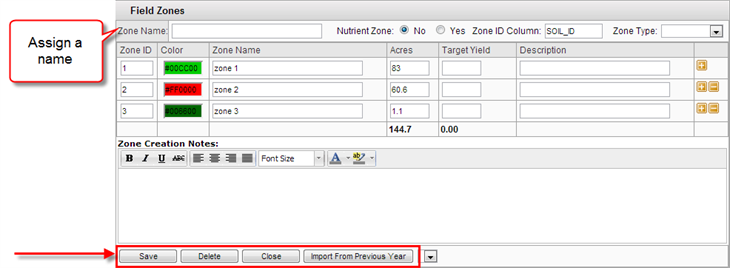
- Click the Save button
If you wish to delete the group of zones created, just click the Delete button
- To go back just click the Close button